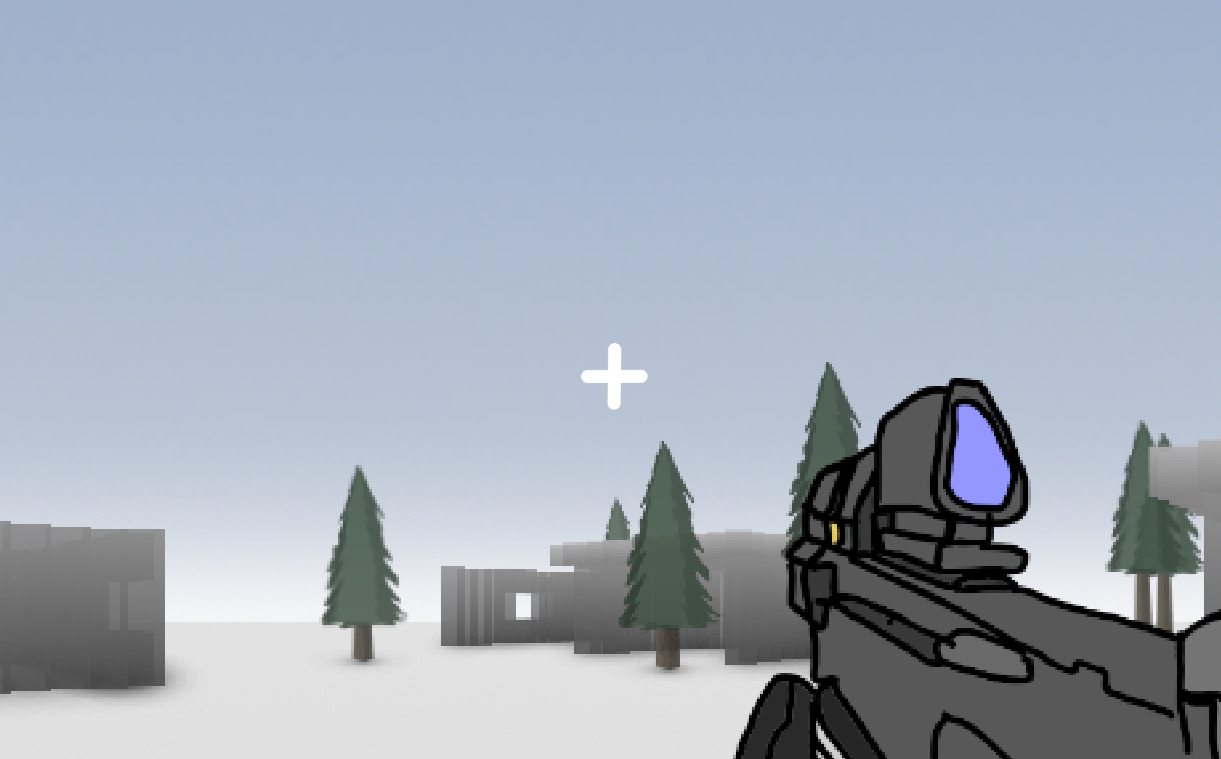
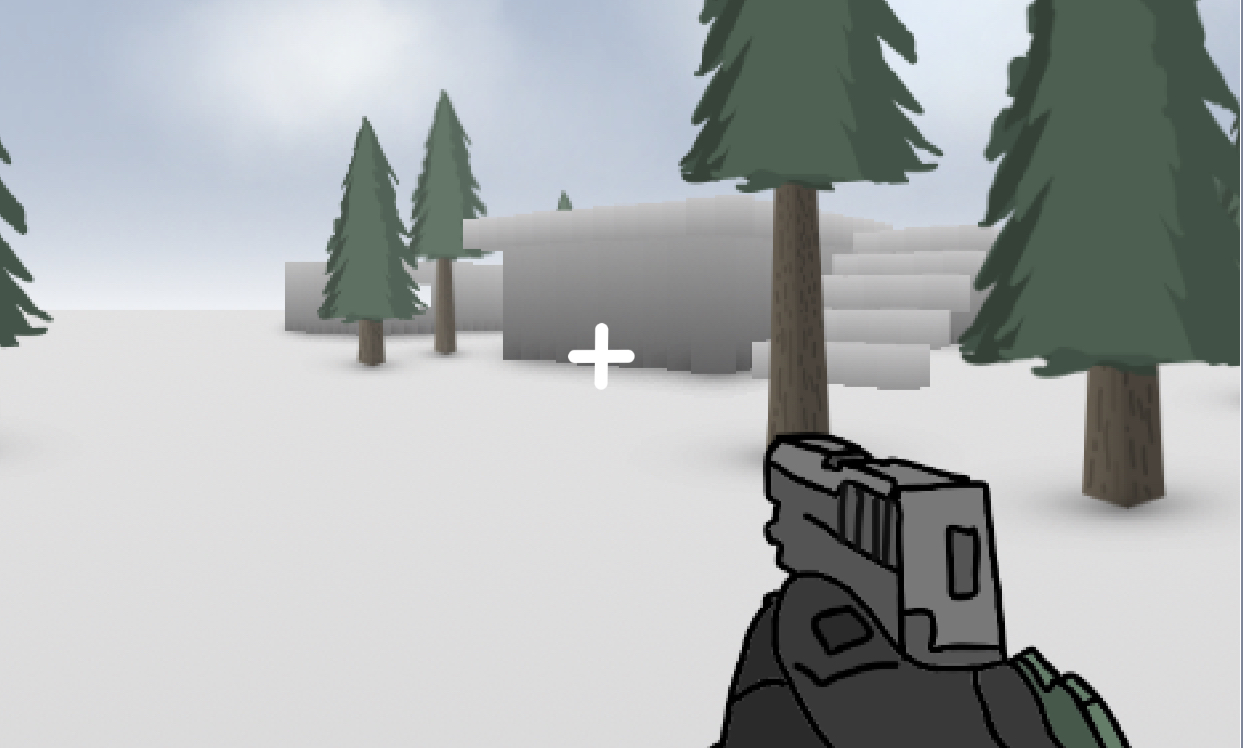
Sprite-Based Rendering
bigbrain123321
It is possible to use sprites to create 3D environments. When using Sprite 3D, objects will always appear to be pointing towards the camera regardless of camera orientation. For this reason the camera is often restrained from looking up or down. This method is simpler and faster than most other 3D techniques, as each object is treated as a point as opposed to a line or polygon. It is also possible to create a high level of textural detail with clever use of costumes. As such this method is widespread on Scratch.


Example of a sprite 3D engine
Overview
bigbrain123321
Sprite 3D engines work by storing the data of 3D points and by using the “stamp” tool found inside Scratch’s pen extension (at least for non-clone based engines but that’s for later). The 3D points are then transformed and projected and then corresponding sprites are stamped at the projected points. There are two ways to do sprite 3D: with clones or lists and stamping. Both methods have their own advantages and disadvantages. For example, clones allow for sprites to be a clear resolution while stamping slightly reduces a sprite’s resolution. However clone engines also tend to perform worse than stamp engines and have a max limit of 300 objects in vanilla Scratch (due to the 300 clones limit). It is important to note that Turbowarp (a Scratch mod that makes projects run faster) allows you to pass the 300 clones limit as well as the 200,000 list length limit. Typically it is best to use a stamp based engine but this chapter will go over how both methods work.